For some folks out there, gardening is foreign. Don’t be shy, it’s more common than you think. Ask any urbanite to explain how potatoes grow and you’ll get funnier answers than Jay Leno does on the street. Here I will attempt to summarize the key points of getting a garden going.
Location! Location! Location!
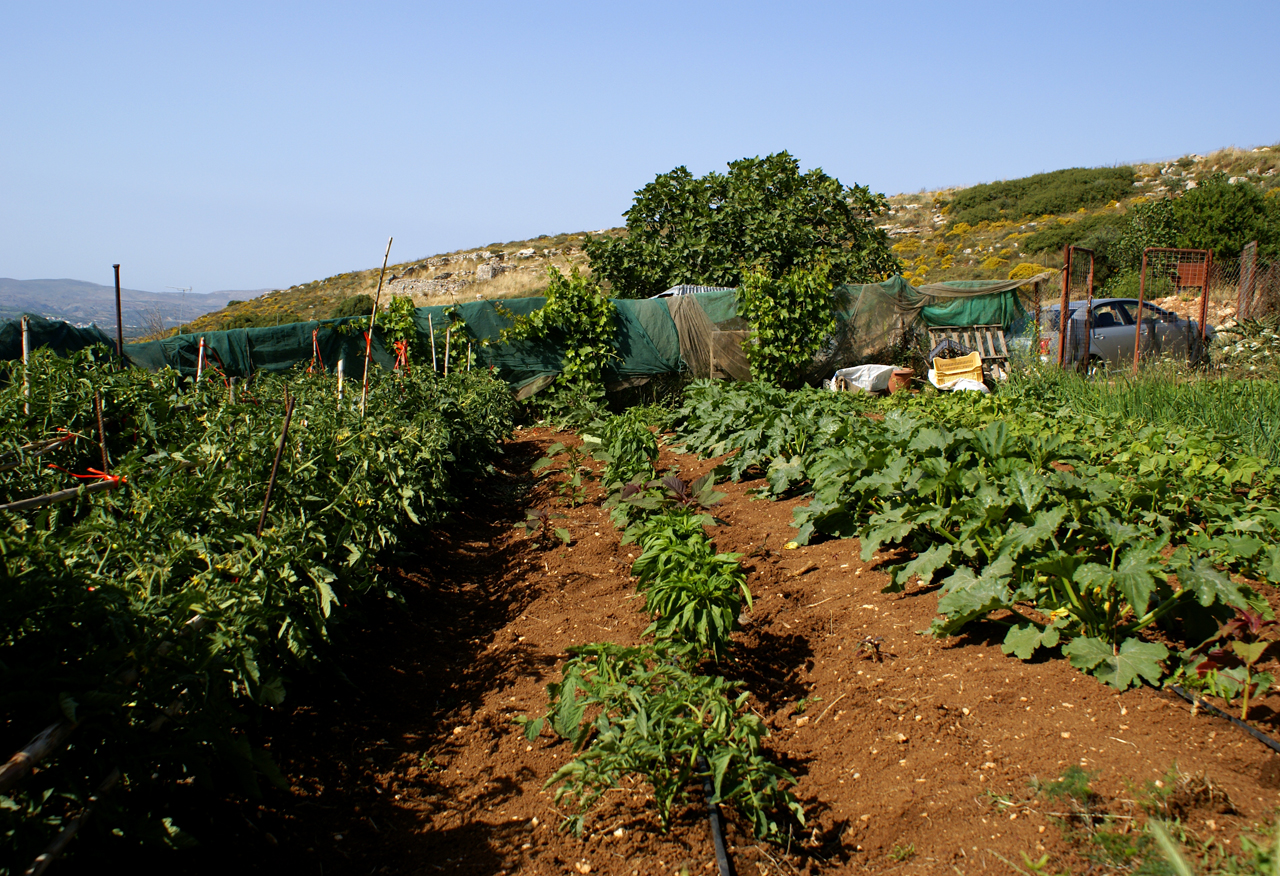
Look for a location that is easy to access from your door. If it is far from your door, the out of sight out of mind theory comes in to play. Look for a spot that gets at least 6 or more hours of sun a day. Something that played into my decision was the proximity to a water spigot. Also determine how big you would like your garden and how easy it would be to scale up in this location if you decide you like gardening.
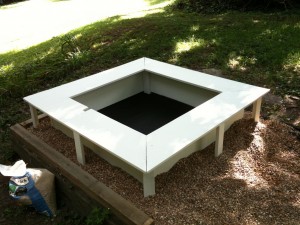
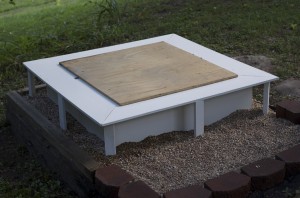
Raised beds create organization and paths down the middle so soil doesn’t get compacted underneath feet. They typically are made of treated lumber, but preferably cedar, considering the treated lumber has chemicals in it that would leech into your soil over time. If you use treated lumber, consider lining your bed with plastic so the lumber does not directly contact the soil. The soil you put in your raised beds can be custom to that particar bed. You may add sand, soil, compost, fertilizer, etc. to create the perfect home for your plants.
Seed Selection
First, make your list of must have items. It might help to have your garden dimensions with you when you’re sifting through garden catalogs so you might make choices in regards to space. Second, look for varieties that do well with your area. For example, blueberries need to be in northern to midwestern Unites States, so they may not be ideal for a sunny location in a Texas garden. Third, consider the heirloom varieties over genetically modified varieties. The yields are better, and you’ll grow something you can save the seeds from year after year (without being sued).
Soil Preparation
Here in Missouri, I am dealing with clay soil. In my garden, I have mixed in chicken compost, lawn compost, mushroom compost, straw and top soil. I also added in bone meal and epsom salts for good measure. The soil should be turned annually before planting. Do this about four weeks before planting – two weeks at minimum. This way, weeds will sprout and can be plucked before the seedlings are in place.
Irrigation
This goes somewhat under the location category. Pick some place next to a hose spigot. This way, you may water with the hose, fill up your watering can conveniently, or use a splitter to make the hose into a two outlet spigot, with each side having an on/off valve. Adding the splitter would allow you to run a hose off of the spigot while still keeping your garden hose hooked up. You may choose to run a hose to your garden and attach a broadcast sprinkler like I have. Or you might choose to run soaker hoses in your garden. To aid in watering, you might even consider a timer. Invest in a good one so it will last you a while. I chose one with multiple settings – options for on/off, length of watering cycle, and watering everyday at 6 a.m., every other day at 6 a.m., and everyday at 6 a.m. and 6 p.m. This allows for the water timer to fit my needs all season – cool months in the spring to the demanding hot summer months. For those of you who know about mildew and water loving plant diseases that thrive off of waterings when the sun is down, I adjusted the clock on the timer so it comes on at real time 7 a.m. and 7 p.m. The cost for the timer is around $10-$30, but certainly worth it. This way you don’t have to cringe when you forgot to start the water on a hot July day.
Planting
If you started your seeds indoors, move them outside when they’re able to survive the elements on their own. Meaning, are night temperatures above 45? Do they have their second set of leaves? Did you use a fan to “harden them off” so wind won’t snap delicate seedlings? Be sure to plant them according to their needs – sun, partial or shade. Also, not all plants like the same type of soil, so plan accordingly. Making a map of your garden beforehand is easier than going back later and remembering what all you planted where! I recommend taking measurements of your garden and making a pretty detailed map – number of plants, what variety. This will help make your garden journal so you might plan for next year – rotate crops, change what didn’t work, etc.
Weed Control
I have heard various suggestions: black and white newspaper, cardboard, or straw. I personally use straw because it acts as a mulch as well keeping the water in where it should be. Some other people swear by cardboard or newspaper. Organic Gardening magazine recently mentioned in an article that no research has concluded the black and white newspaper bleeds chemicals into the soil. With straw, you just put it on top of everything and till it in at the end of the growing season. With cardboard, you just lay it on top of the soil. With newspaper, you place it down and put top soil over the top – not a whole lot, just an inch or two. My qualm is I don’t want to walk out of the garden with my shoes looking like a paper mache project if I disturb the top soil.
Insect Control
I try to go natural about it using dish soap in a hose end sprayer and simply plucking off the larvae or eggs of harmful bugs. You’ll find them on the underside of leaves of your veggie plants. A great product my friend Nancy introduced me to is Neem Oil. It can be sprayed on plants without clogging pours and the squash beetles do not like it!
Plant Maintenence
There are several things I am sure to do to preserve my plants. First, be vigilant against squash beetles (pdf from Purdue – very detailed!). They’ll boar into your squash and melons. Second, I start another round of all of my squash and melons once I set the others outside in the garden. This way, if one bites the dust in the middle of the season, I have back up!
Another bit of maintenence is to prepare your plants to produce! Make sure to snip off onion blossoms and rhubarb flower stalks because these are signs the plant is going to bolt! Also, my new gardening friend Kristal informed me about the benefits of pruning tomatoes. The idea is that the nutrients go into the main fruiting laterals. Be sure to also consider their fertilization needs during the season. If you put down compost at the beginning of the season, perhaps it might need a refresh half way through the season. Maybe a nice boost of energy would be nice with an extra watering during the hot months. Be sure to listen to your plants and they’ll be good to you!

