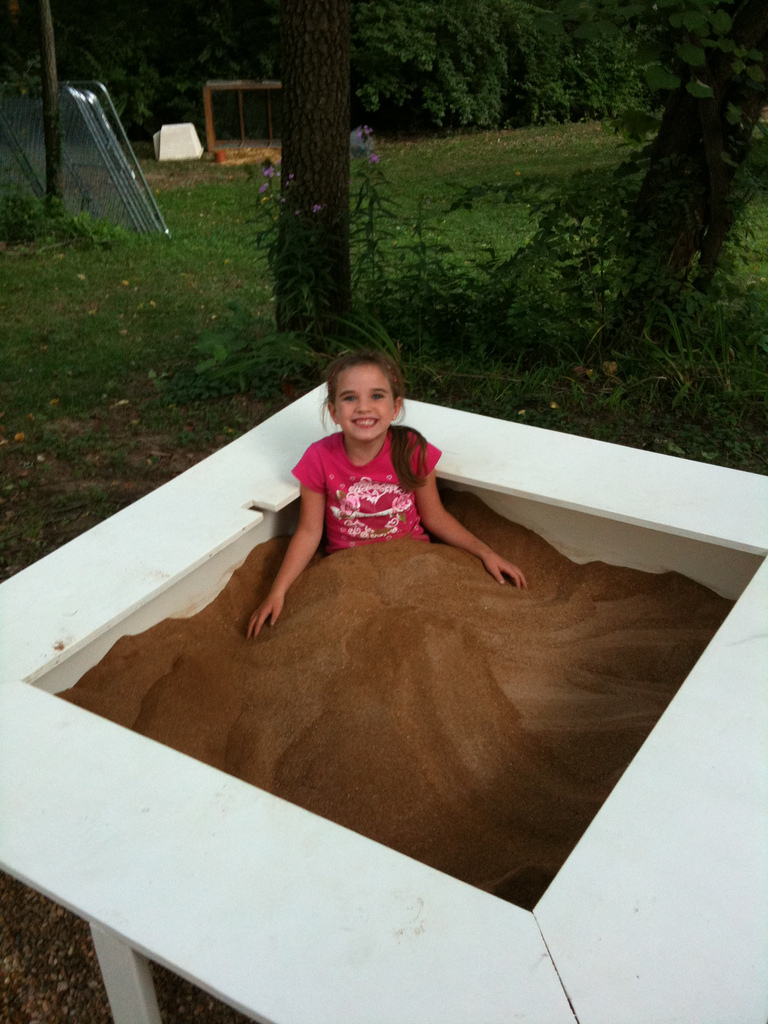
About four weeks ago, one day when the girls (Kari, my 3 year-old, and Persi, my 6 year-old niece) were being particularly wild, I told them if they were good and took a nap, I’d build them a sandbox. They were good the rest of the day. I promptly went online to get ideas and sketched up a plan. I cut the wood and gathered supplies. The following several weekends got a little hectic, so the main event was postponed until this weekend. Considering most plans I found were just not detailed enough or cost $4.95, I figured I would type out my detailed plan here for free!
Supplies needed
1 box of 3″ galvanized nails
Staples (size does not matter)
(2) 8′ cedar 2″x12″
(2) 10′ cedar 1″x12″
(1) 12′ cedar 2″x4″
(1) 4’x4′ piece of 1/2″ plywood
(1) 6′ pine 1″x3″
(26) 1′ landscape blocks
(1) 6’x8′ tarp
(15) 50 pound bags of pea gravel
(10) 50 pound bags of play sand
1 roll of landscape fabric
1/2 gallon exterior paint
Garden staples (optional)
Tools Needed
Pencil
Stapler
Scissors
4′ Level
Hammer
Circular Saw
Speed square
Sander/Sandpaper
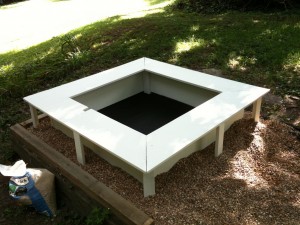
Of course, the landscape blocks, garden staples and pea gravel are all optional, but we chose to create a base for the girls to step out, dust off and get their shoes back on. This bed of pea gravel also aids in drainage, so the sand won’t be setting against wet ground after a rain fall. Where we located the sandbox was on a hill just below the level of the driveway, so without the pea gravel raising the sandbox off the ground, the sandbox would become a wet mess after a rain!
We started with an area approximately 6′ x 8′. This pad has housed everything from a picnic table to a chicken brooder, and already had 2 landscape timbers in the ground on the lower sides forming an L. We added 1 more landscape timber on top of the existing L to make it 2 timbers high. We then laid down the landscape fabric over the dirt and overlapping the timbers so rocks wouldn’t leak out of the area. If you need, insert staples into the fabric so it doesn’t move around. We then enclosed the remaining L with landscape blocks stacked 1 high. The supply list above has only landscape blocks and assumes the ground you’re working with is level (more needed to create a retaining wall). The soil somewhat eroded over time, so we needed to level the inside of the play area with pea gravel first. We poured 10 bags of gravel in the area, leaving 5 for filling in later. We took our level and checked the level of the gravel and used the level to also spread it out. Trust the level, even if the gravel looks otherwise to your eye!
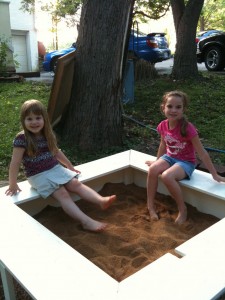
Once your base it set, you’re ready to start cutting wood! Notice I have chosen cedar here instead of pressure treated wood. I prefer cedar considering I do no want the kids touching chemicals all the time. You could use pine, but cedar holds up extremely well to the elements, and should at least be used where wood will be making contact with the ground.
Cut the cedar 2″x12″ into (2) 4′ pieces and (2) 3’10” pieces – these are your sides.
Cut the cedar 1″x12″ into (4) 5′ pieces – these are your seats.
Cut the cedar 2″x4″ into (12) 1′ pieces – these are your supports.
Assemble the sides by placing the 4′ pieces on opposite ends and the 3’10” pieces between the 4′ pieces, forming a box. Nail 3 galvanized nails into each corner on the outside. Nail 1 support into each corner on the inside with 2 nails – these just provide support for the box and keep pressure off of the nails when the box is moved around during construction.
Now, for the fun part – 45 degree angle cuts! We decided to have the seats sit on the sides of the box exactly in the middle of the seat board for best support. Cut a 45 degree angle off one end. Measure the width of your sandbox at the edge where the seat will be. Find the midpoint of the seat board (long) and put a mark on the side opposite the angle cut. Use your speed square to draw the other cut. Opposite seats should match, so you could use one as a template for the other. You do need to measure! Do not assume your wood is precise! (i.e. 2x4s are really a hair under 2 and a hair under 4)
We chose to put 3 nails in each seat. We then attached a support at each corner and the midpoint of each seat on the outside edge of the seat.
Get your paint clothes on and start painting. We had the girls help us with this part and they had a blast. We did two coats on everything to ensure durability.
After the paint dries, flip the sandbox over in the grass or on some sawhorses, and attach the landscape fabric to the bottom with staples. Place the sandbox on the gravel base and fill with sand!
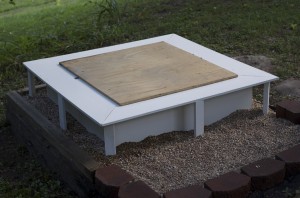
While the kids are enjoying their new play area, the final piece can be constructed: the top! The top needs to be bigger than the hole so it doesn’t fall in. Chris put 3′ 1″x3″ boards parallel to each other on the underside of the top to keep the top ‘snug’ in the sandbox. Measure the inner dimension of the sandbox, but be sure not to put them too close to the exact measurement. Give an inch of wiggle room. Add top and cover whole box with tarp when not in use.
I would not recommend placing anchors in the play area for the tarp, but rather use a brick or two on top. Also, do not let children lift the top by themselves! Be sure to remove top for them and replace after play to keep sand clean.
